
Using Doccano for Sequence Labeling
Published:
This article covers the approach of using a web-based open-source annotation tool named “doccano” to create sequence labels, especially for named entity recognition (NER) tasks. Please refer to the official website and the GitHub repo for the software introduction.
Notice that the doccano repo is updated nightly but not its introduction/tutorials. So you may find the UI and provided functions a bit different from what the official website presents if you are using the latest software version as presented below.
1. Accessing doccano
1.1. Georgia Tech personnel
I’m running the latest doccano server at sciannotate.cc.gatech.edu:8000. You should be able to directly access it if you are using Georgia Tech eduroam LAN/WLAN or connected to Georgia Tech VPN.
If you have data safety concerns and would like to run your own distribution, you can follow the instructions here.
1.2. Others
You can follow this official instruction to install doccano into your local machine, run it with docker, or deploy the software on AWS.
2. Logging in
2.1. Creating user
If you are able to access the webserver, you should see a webpage below:
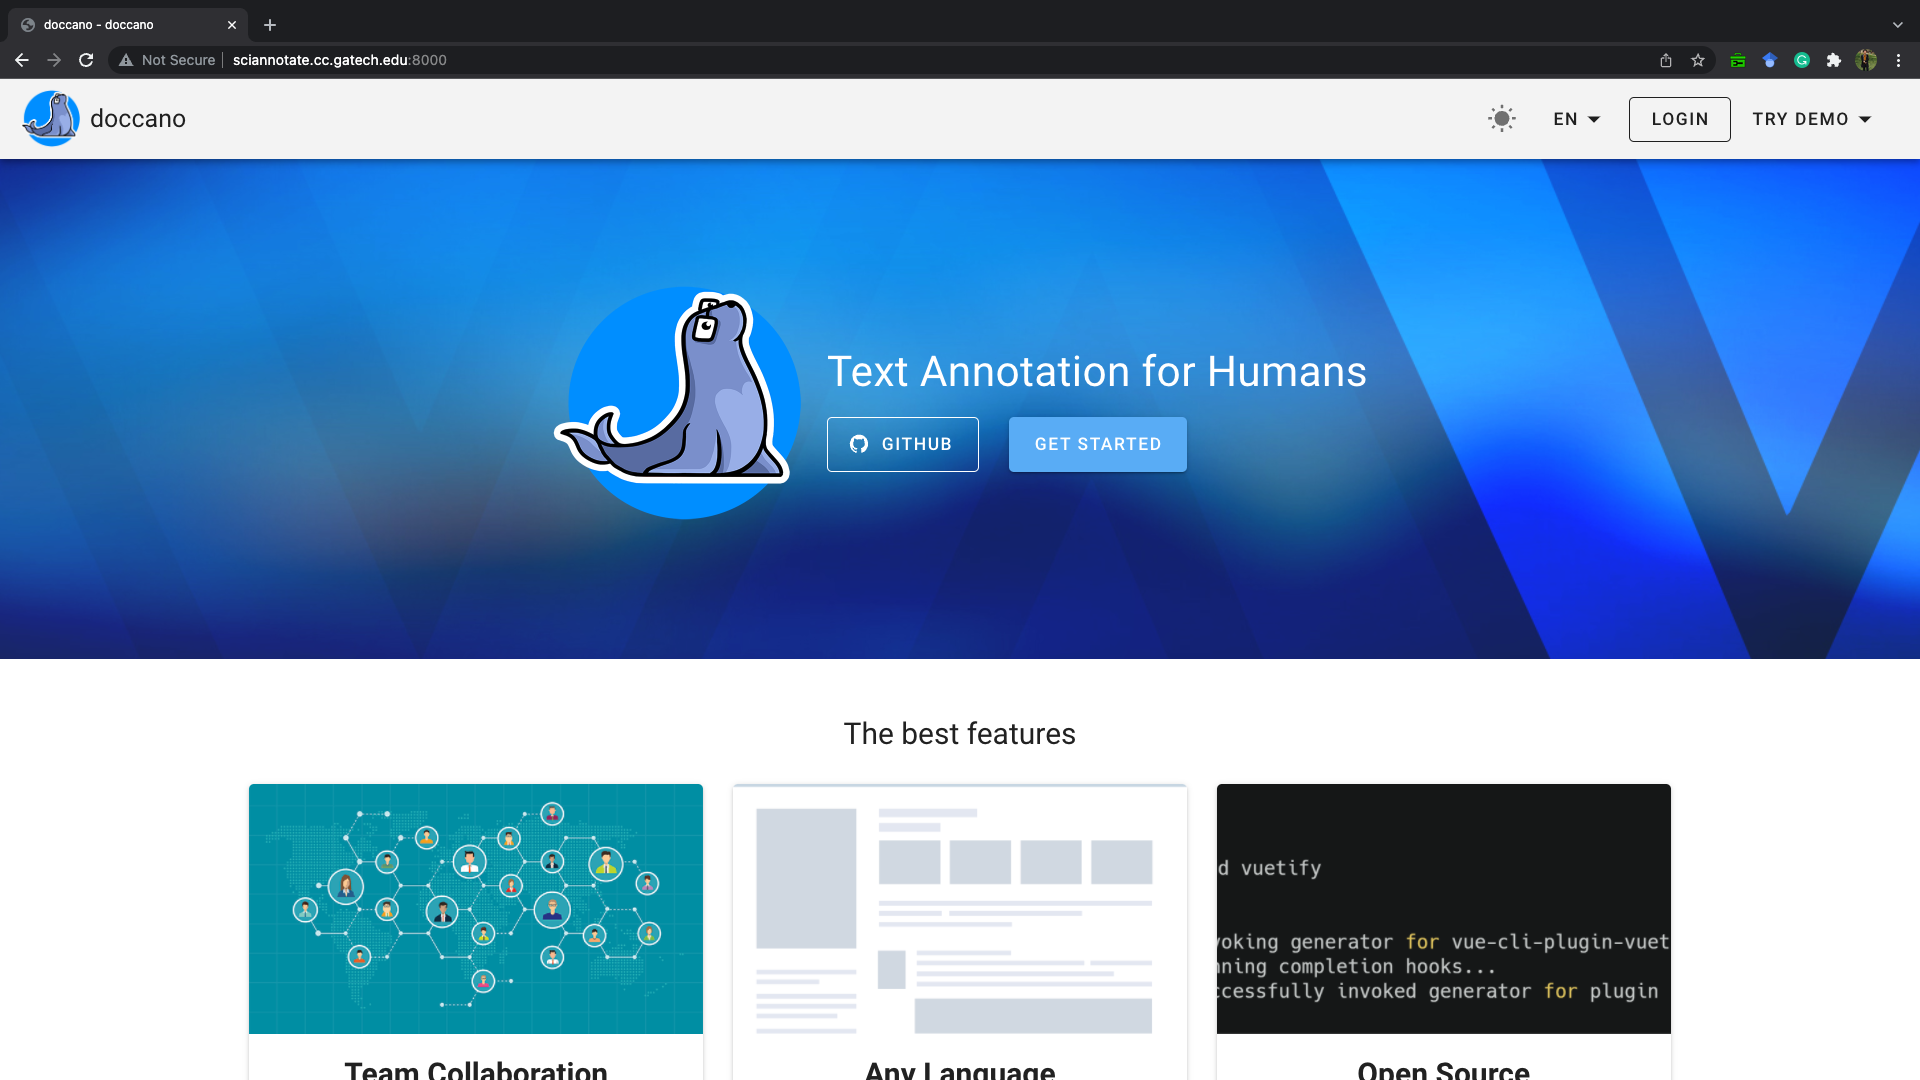
The first thing you want to do is creating a user and logging into the system.
However, if you are using my distribution, you may find there is no way to do that. This is because doccano is not designed to open to the world (yet) and its developers did not provide the GUI for general users to create their own profiles. Only administrators are able to do that. So please contact me for user creation.
If you are using your own doccano distribution, you yourself are the administrator and you can manage your user status according to this official tutorial.
2.2. Logging in
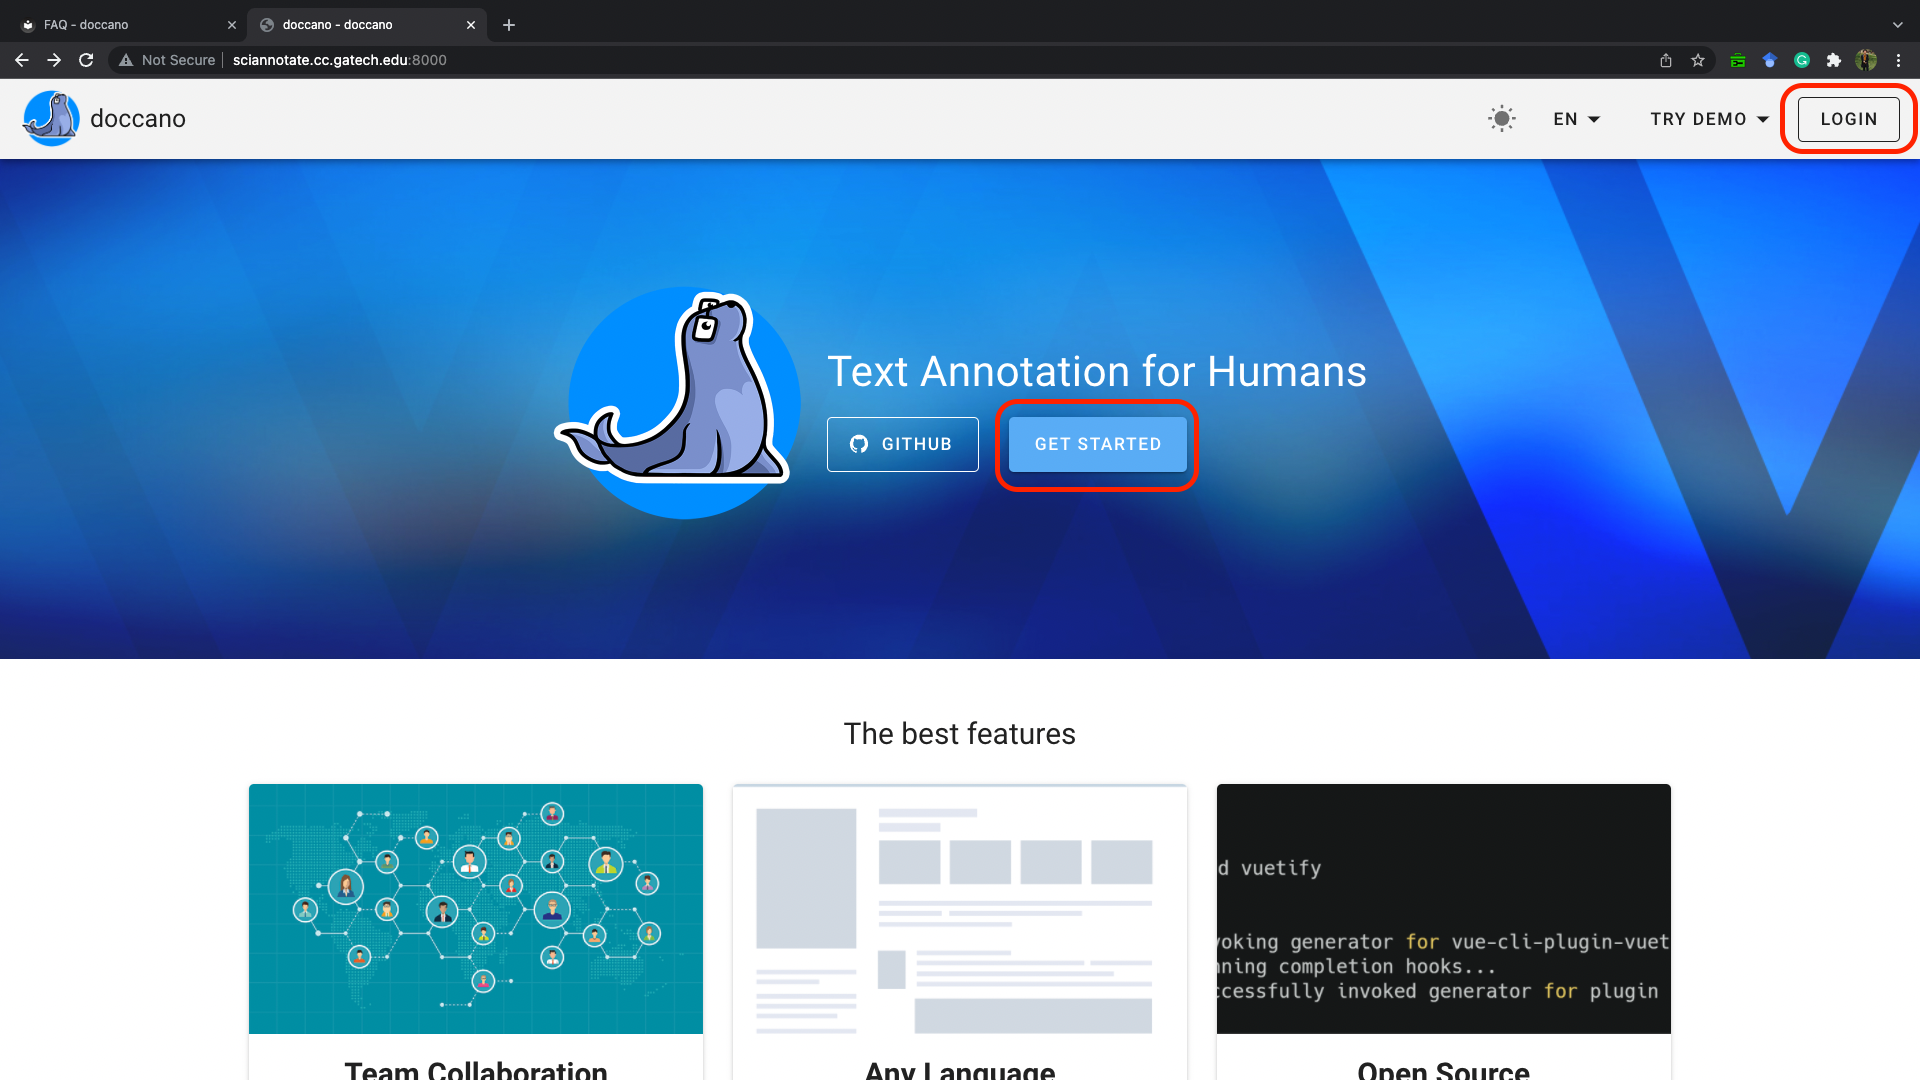
Once you have signed up, you can log into the system by clicking the big LOGIN button in the navigation bar or by clicking the big blue GET STARTED button next to the seal logo. You can also switch between dark/light mode, change the interface language and try demo projects by clicking corresponding links.
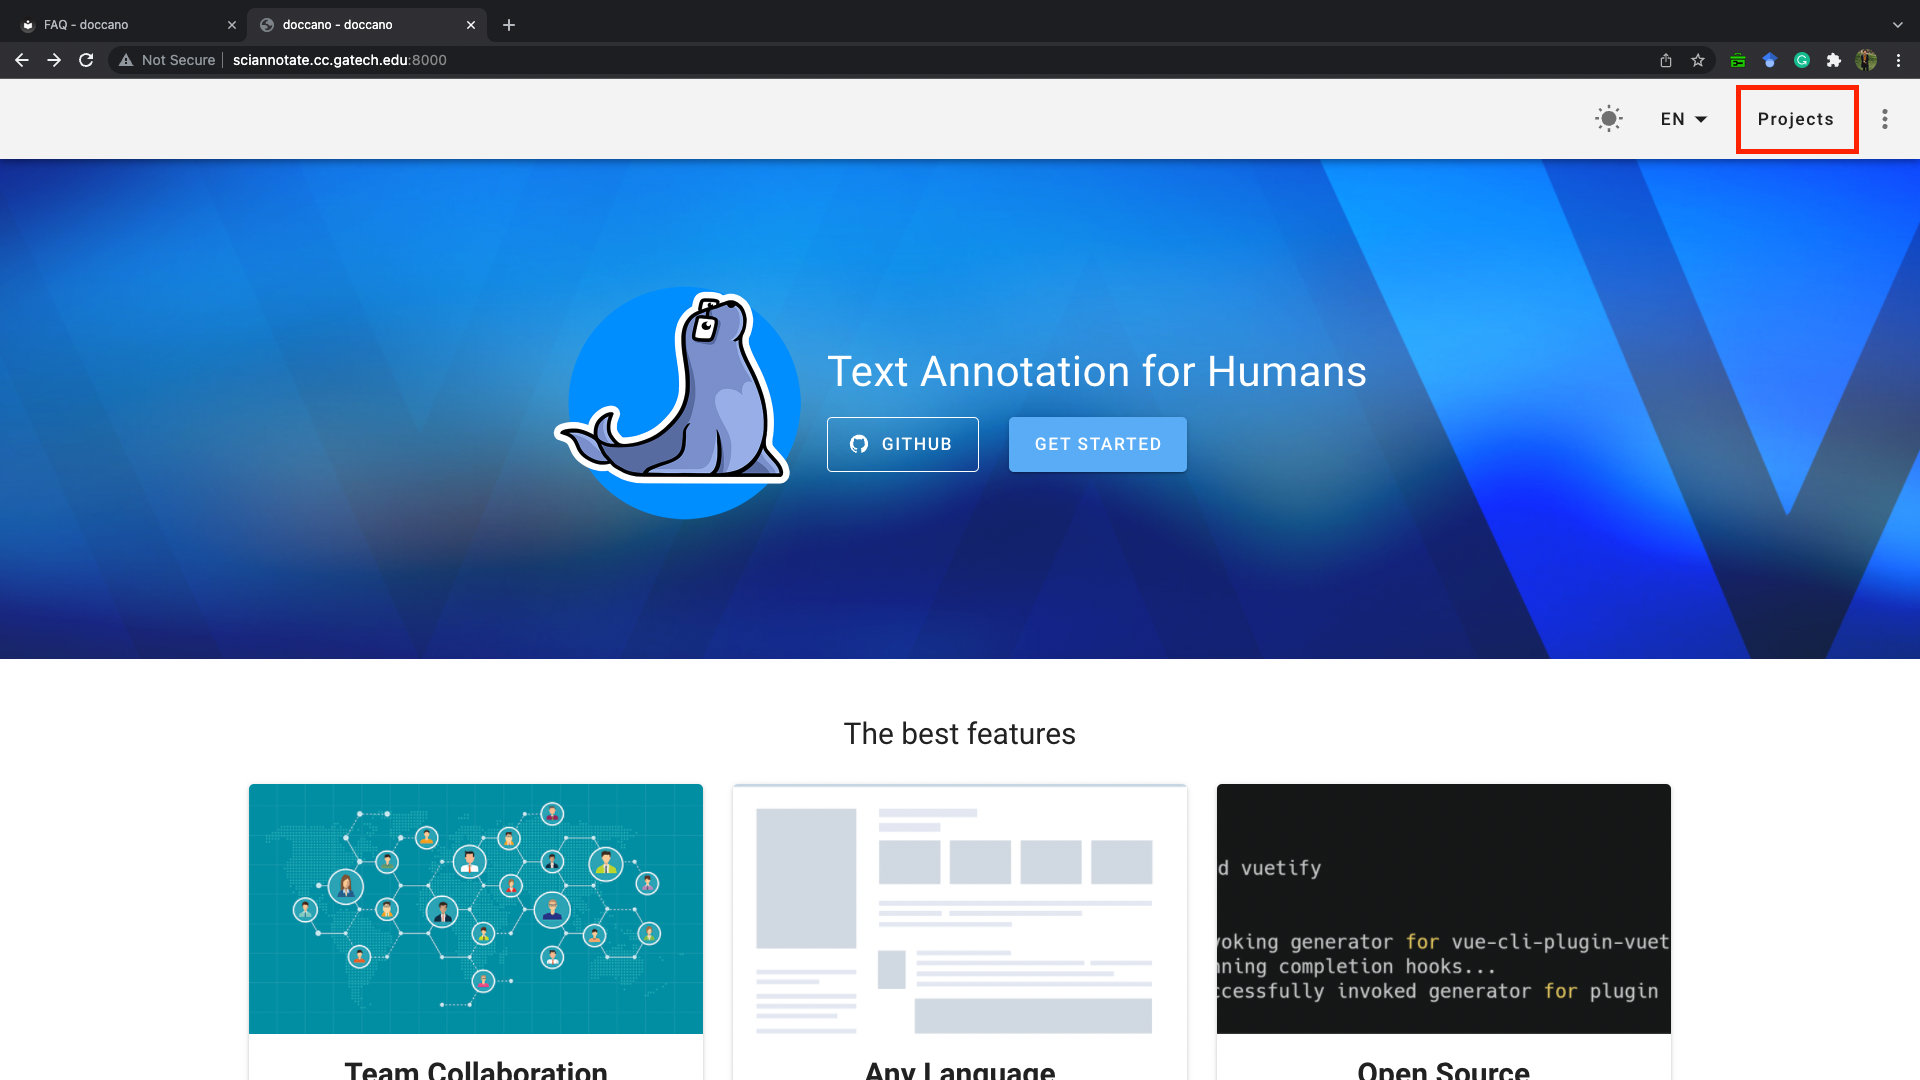
Once you have logged into the system, you can view your projects by clicking the Projects button in the banner.
3. Projects
If you would like to create your own project, you can click the blue Create button located at the top left of the Projects page. A dialog window Add Project should pop up.
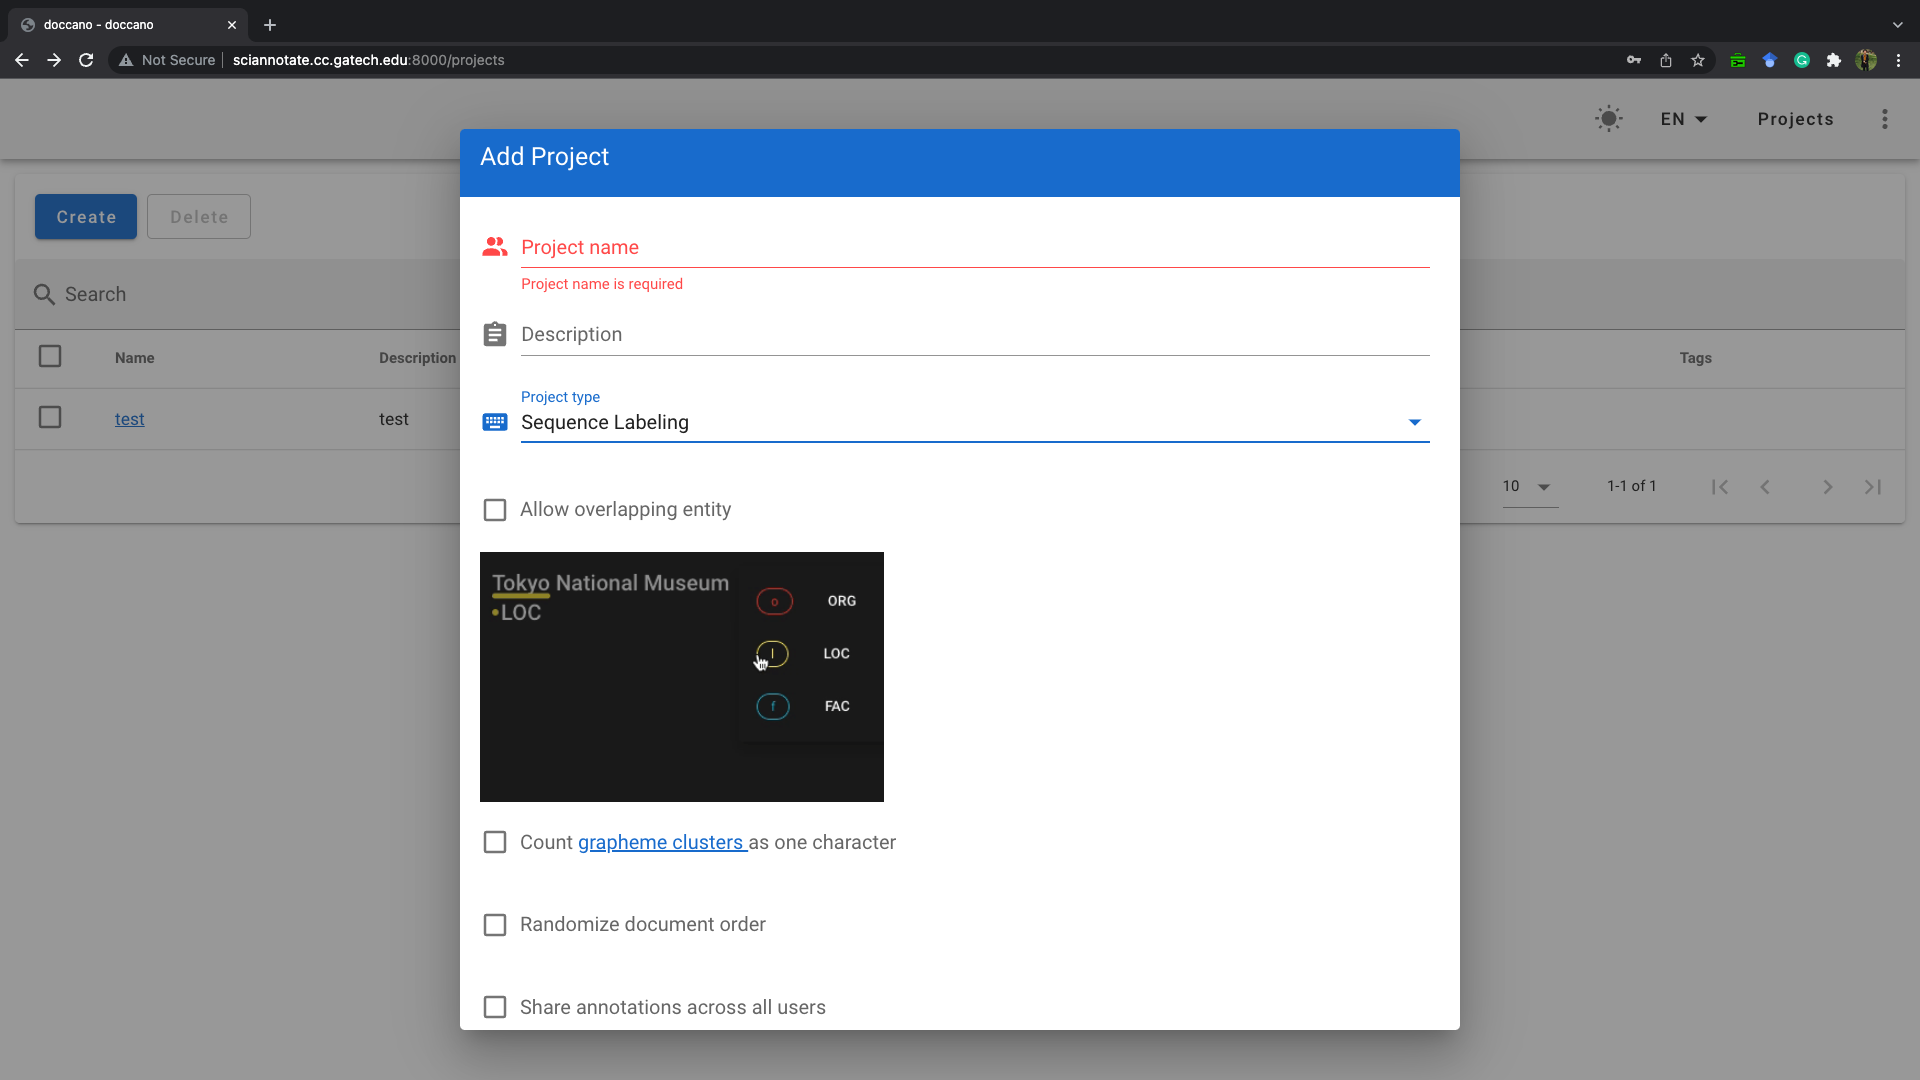
You need to specify project attributes such as name, description, and type. Afterward, click save at the bottom of the dialog window and you should be able to see the project you just created.
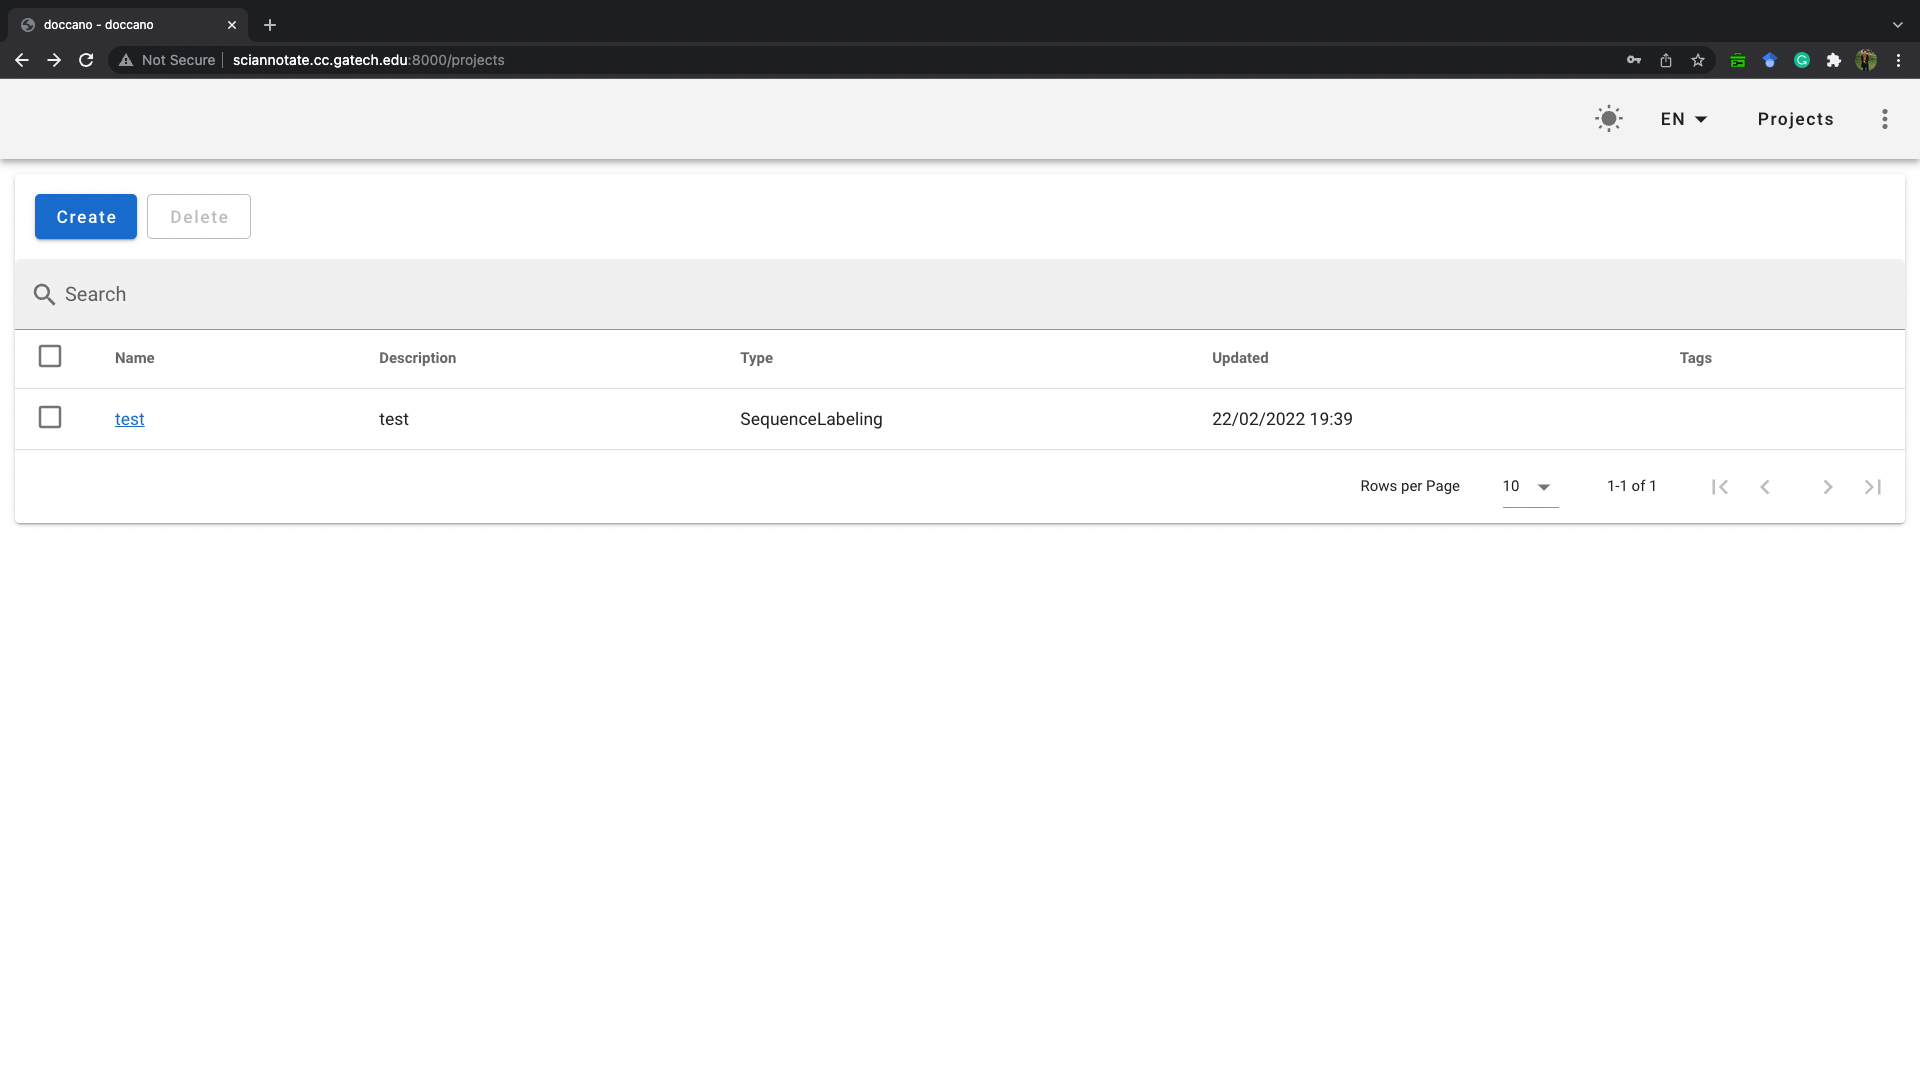
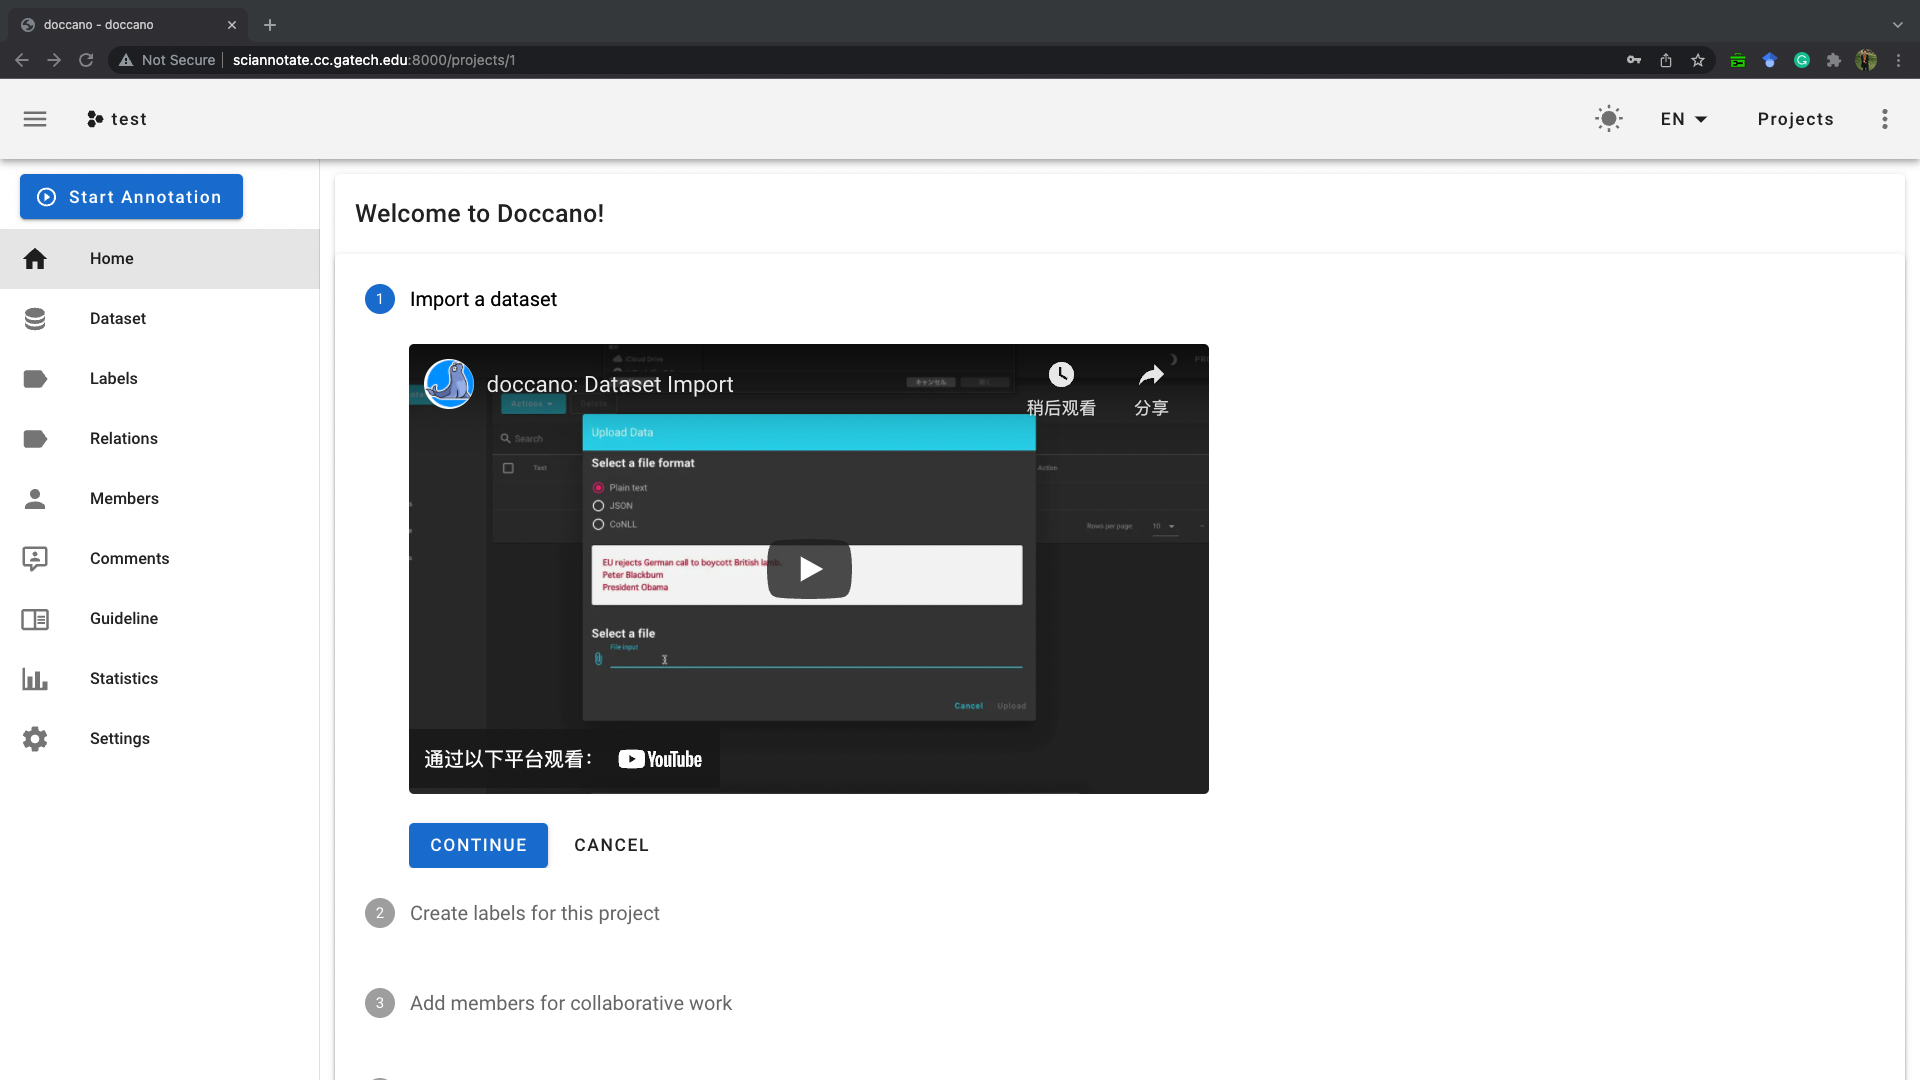
You can go to your project page by clicking the project name. The project page should look like:
Notice that other users may share projects with you. So you probably would see projects that do not belong to you in your project list.
4. Annotating documents
Doccano developers have provided detailed tutorials about how to annotate documents in the Home section of the project page. You can also find more details in this official tutorial and my guidelines.
Relation annotation is fully supported in the latest version v1.6.2.

Leave a Comment